This post is brought to you by Creative QT. The content and opinions expressed below are 100% that of Where Imagination Grows.
Turn an easy DIY Lego table into a quiet calm down space for kids!
Do you have a child that sometimes needs a space where they can be alone or refocus their energy into something else? Then this Lego Calm down corner is perfect for you! Follow our tutorial below to easily make your own DIY Lego table! It’s fail proof!
Affiliate links provided for your convenience, see my disclosure for more info.
My five year old sometimes needs to step away from whatever is going on and have a quiet area to get her emotions under control. She has sensory issues and sometimes she will get upset and can not calm herself down without being removed from the situation. In an effort to cut back screen time and avoid heavy use of her tablet, which was her go-to quiet activity for awhile, we decided to make a DIY Lego table and set it up as a calm down corner in her room.
DIY Lego Calm Down Corner for Kids
Wondering what a calm down corner is? A calm down corner is an area separate from everything that is going on in your home or classroom with simple activities that encourage kids to redirect their feelings. It provides a safe place for kids to relax, focus on something else, and calm down. A place where kids can process upsetting events and learn important self-calming skills.
We don’t use the calm down corner as a traditional time-out spot. It’s not for everyday behavioral issues. It’s a quiet space for kids that are very upset or acting out aggressively, kids who cannot calm themselves back down or redirect their behavior into something else within the current environment.
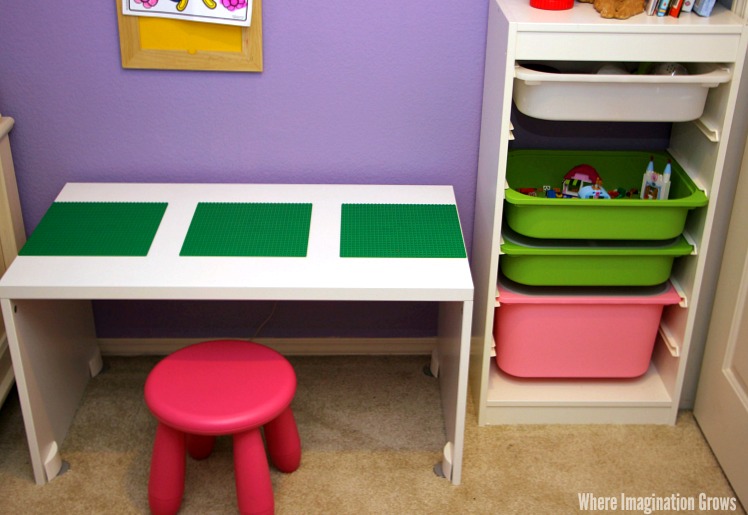
Set up your DIY Lego table (our DIY Lego Table tutorial is below) in a quiet area that is separate from the busy activity areas in your home. A place where your child can be away from other things going on.
When kids get worked up and upset it’s hard for them to focus on what you are saying. They also can’t always find a safe or healthy way to deal with that anger or sadness so instead they may act out or throw a tantrum. Having them step away from the situations and into a neutral area like a calm down center where they can focus on building bricks can help them calm down and regain control over their body and emotions.
Once they have calmed down then you can talk with them about what happened and how to handle those issues better in the future. This calm down spot helps kids learn to self-regulate and recognize it’s ok to step away when you are upset.
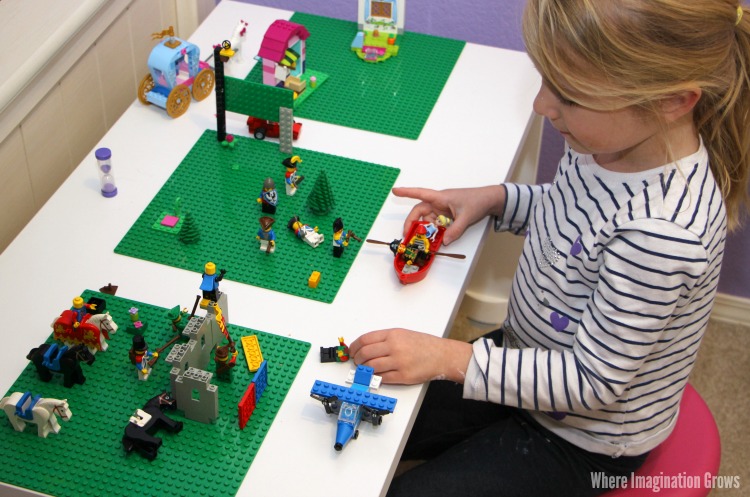
As you can see in the photo above, we use a sand timer for our Lego calm down area. You can buy them in many different time increments (from 1 to 10 minutes) but for my Kindergartner we use a five minute sand timer in our calm down corner. We only do with my daughter because she’s very visual and she needs to know that there is a transition coming. That she can move away from the calm down corner (if she wants and if she is calmer) when the timer runs out.
Ready to make your own Calm Down Lego Table?
How to Make a DIY Lego Table for Kids
Materials:
- Old Table
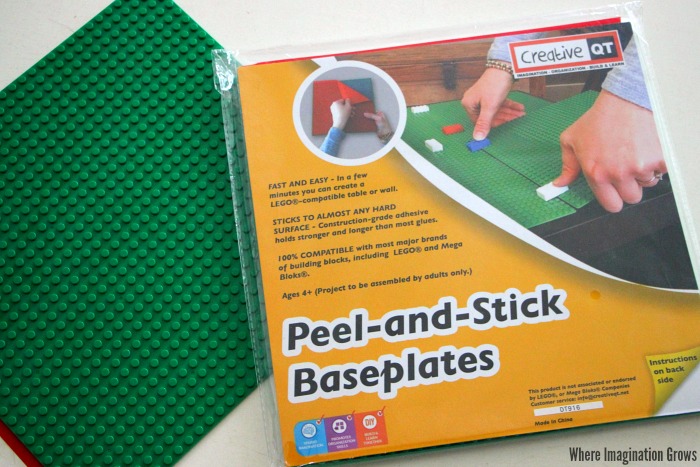
- Peel & Stick Baseplates
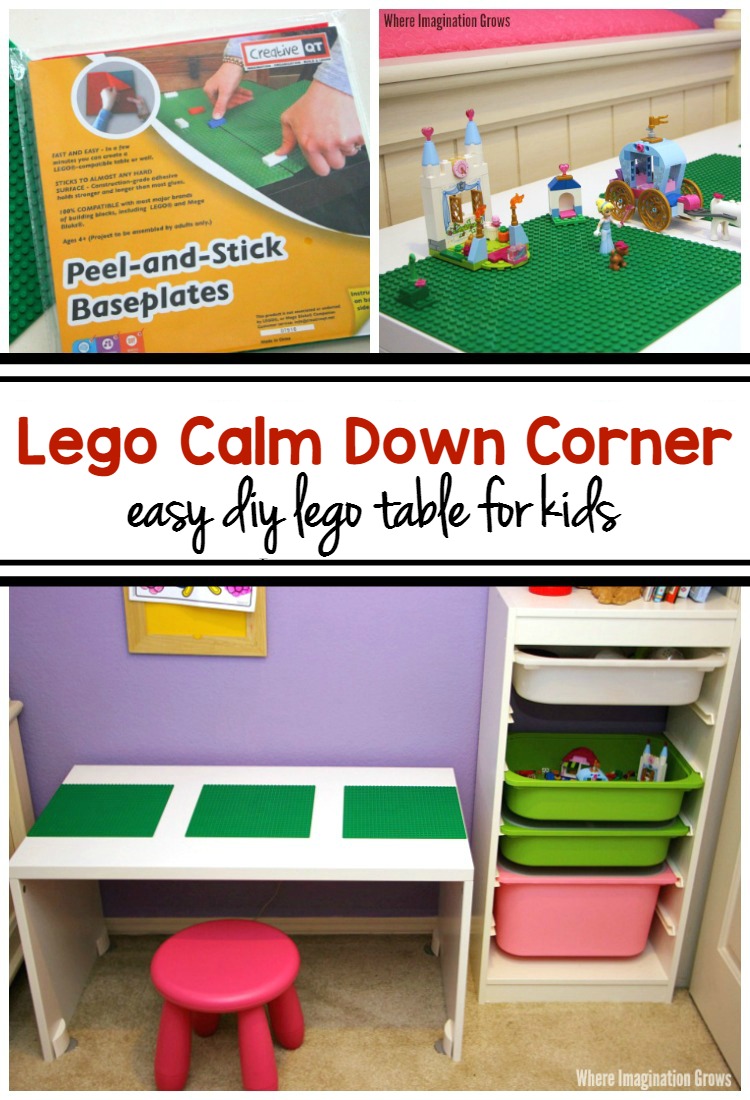
Use whatever old tables or kids table you have. For our DIY LEGO Table I use an old Stuva bench from Ikea. We had previously used it as a toy box but it’s the perfect height for my five year old and the toy box drawer broke so I re-purposed it.
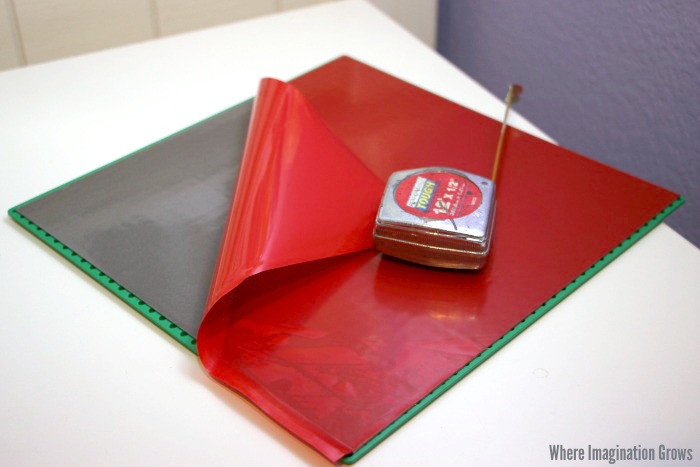
Measure out your table and then grab a pack of peel-and-stick baseplates.
I love our baseplates from Creative QT! They are so easy to use and they are more affordable than other name brand ones but yet the quality is the same. These baseplates are compatible with all major brands of building blocks, like Mega Bloks and Lego. You can also use both Duplo and traditional LEGO sets, which means even my younger kids can use them with our Duplo blocks.
It’s extremely easy to attach these baseplates. Just measure and mark the area, peel off the adhesive, and stick. That’s it! Your DIY LEGO table is done! These baseplates use construction grade adhesive which means no matter how your kids try, they won’t be able to pull them off.
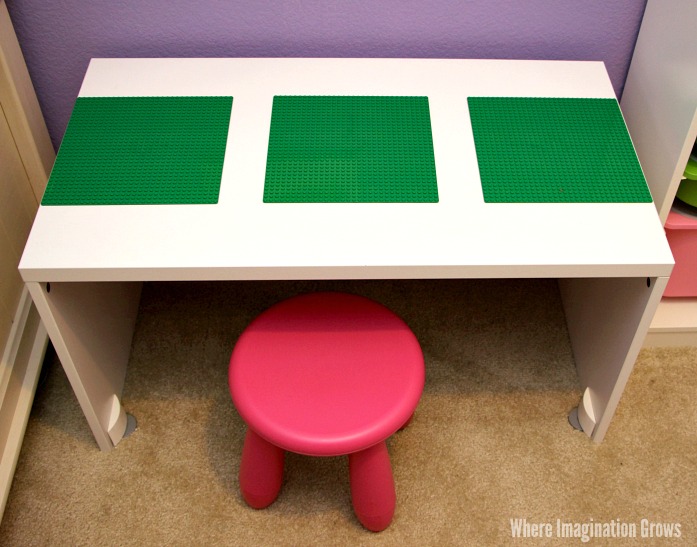
The best part about using these is that you can arrange them however you want. My daughter wanted her Lego table to have gaps so that she could use them for roads, water, or other ideas she had so we set ours up with three panels all spread apart.
Want a entire table covered? Just peel and stick on the whole surface. Want a custom sized table covered? Creative QT also includes instructions on how to easily cut the baseplates into custom sizes.
When your done place it in a quiet corner or room with a bucket of Legos and you are ready! It took me under 10 minutes to stick my baseplates on and move the table! Super quick and efficient!
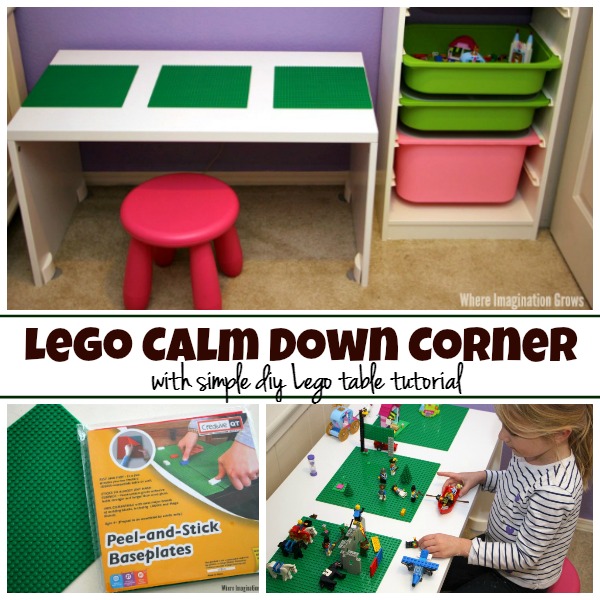
What would you do with your DIY Lego table?
Make your own Lego Table today with a set of these baseplates from Amazon today!
Looking for more crafts and activities? Check out our index for 100+ plus kids activities! Find activities by theme, materials, skills, age and much more!
