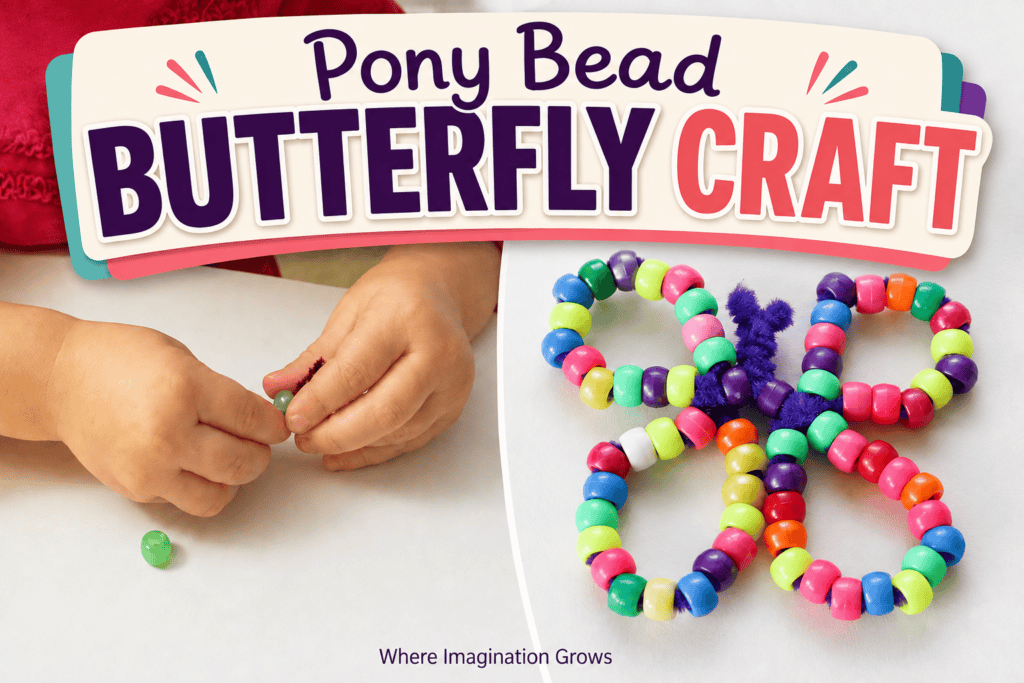
This colorful pony bead butterfly craft is a simple spring activity that gives preschoolers plenty of fine motor practice. Children can choose their favorite colors, create patterns, thread the beads, and help shape their finished butterfly.
With only pony beads and pipe cleaners needed, it’s an easy craft to add to a butterfly theme, insect unit, spring lesson plan, or quiet-time activity.
This post contains affiliate links for your convenience. Please see my disclosure for more information.
Easy Pony Bead Butterfly Craft
My toddlers and preschoolers have always enjoyed threading pony beads onto pipe cleaners. The larger holes make pony beads easier for young children to handle than many smaller beads, while the pipe cleaners are sturdy enough that children don’t have to manage a floppy piece of string.
After making bracelets and trying several other threading activities, we used the same materials to create these colorful beaded butterflies.
Supplies
You only need two basic craft supplies:
- Pony beads
- Two pipe cleaners, also called chenille stems or fuzzy sticks
A shallow tray or small container can also help keep the beads from rolling off the table.
Safety note: Pony beads are small parts and can be a choking hazard. Closely supervise children, follow the manufacturer’s age recommendations, and do not offer beads to children who still put materials in their mouths.
How to Make a Pony Bead Butterfly
We used two pipe cleaners to make each butterfly, one pipe cleaner for each side of the wings.
1. Thread the pony beads
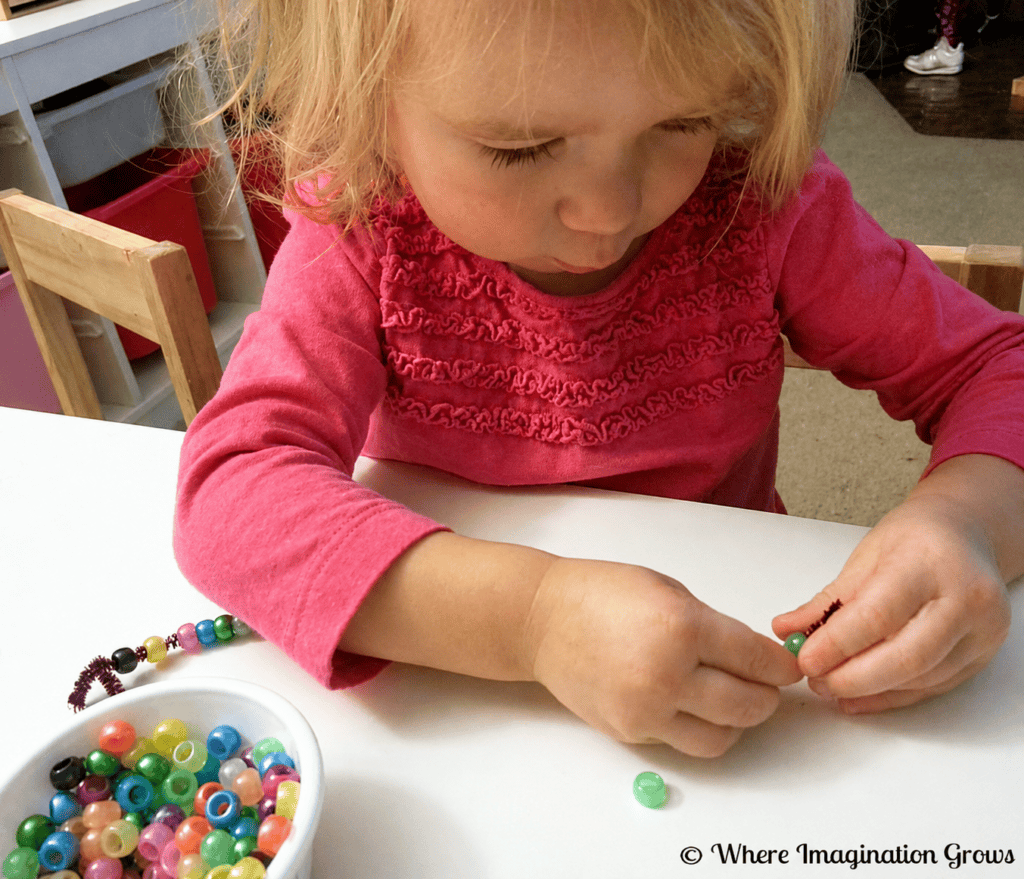
Have the children thread pony beads onto both pipe cleaners. Leave several inches of pipe cleaner empty at both ends so there is enough left to shape and connect the butterfly.
Children can add the colors randomly or create a repeating pattern.
2. Make two beaded ovals
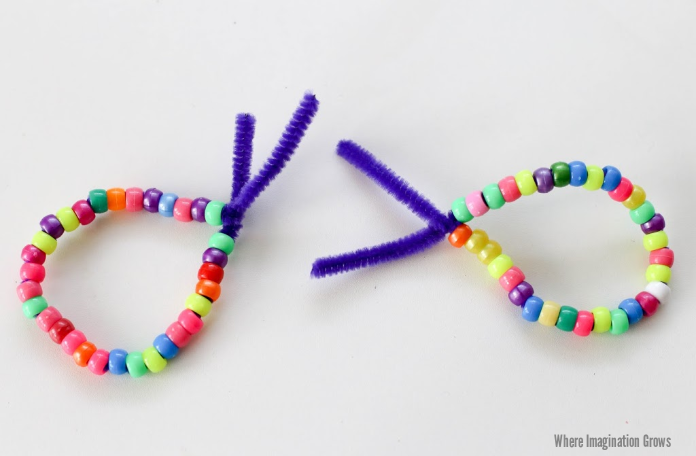
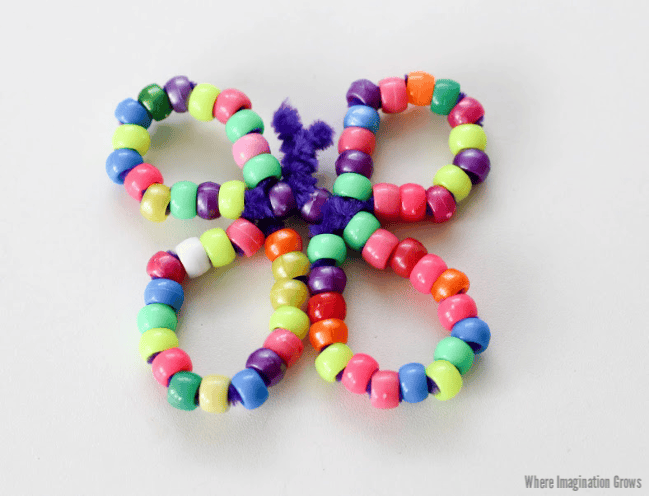
Take one beaded pipe cleaner and bring the beaded section around to form an oval. Cross the two empty ends above the beads to close the oval, but leave the long pipe cleaner ends sticking out.
Repeat with the second beaded pipe cleaner. You should now have two separate beaded ovals with empty pipe cleaner ends extending from each one.
3. Pinch each oval to make the wings
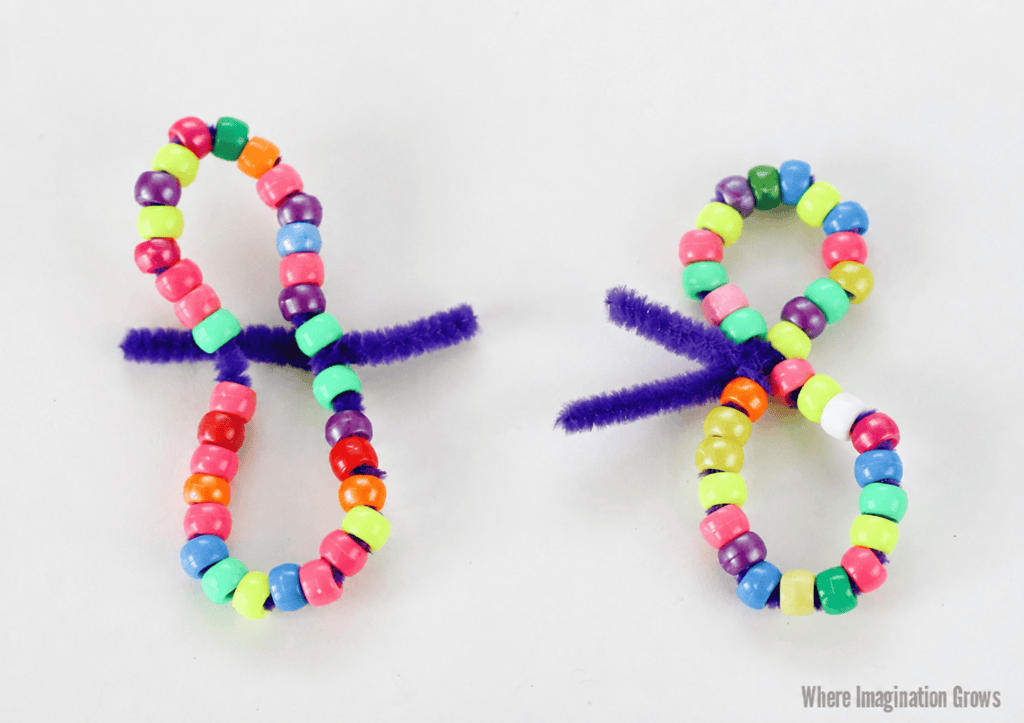
Pinch the first oval together in the middle. This divides the oval into two loops, one upper wing and one lower wing.
Wrap the empty pipe cleaner around the pinched center to hold the two wing sections in place. Do not use all of the remaining pipe cleaner. Leave the ends sticking out because you will use them to connect the two sides of the butterfly.
Repeat with the second oval.
You should now have two separate figure-eight shapes, each with a top wing, a bottom wing, and loose pipe cleaner ends extending from the center.
4. Attach the two wing pieces
Place the two pinched wing pieces next to each other with the loose pipe cleaner ends meeting in the center. Twist one loose end from the first wing piece together with one loose end from the second wing piece. This connects the two sides of the butterfly.
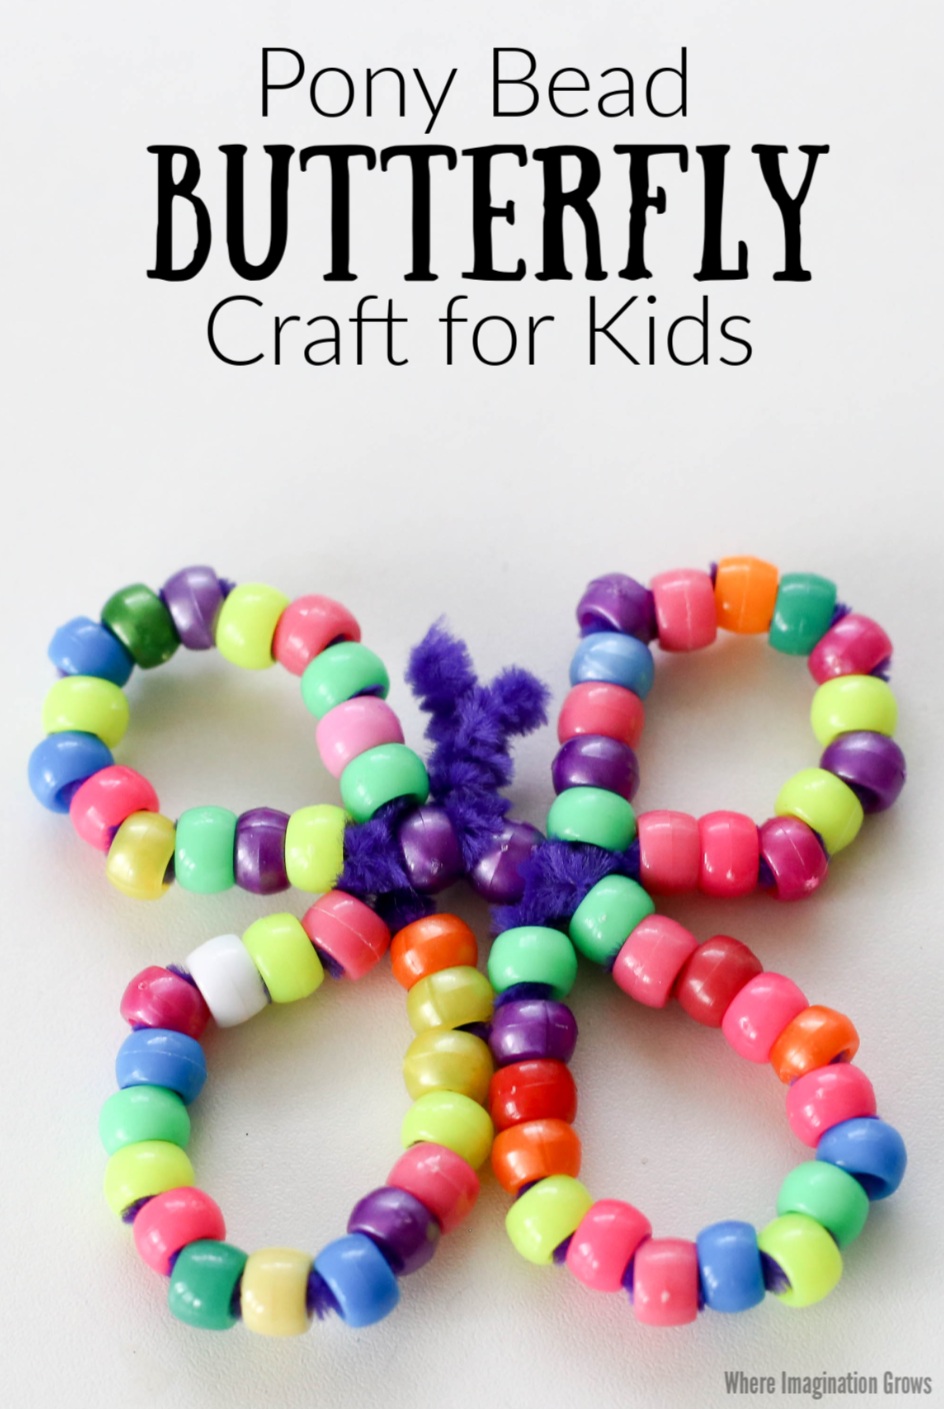
We added one pony bead at the center, the purple bead shown in the finished butterfly, to help create the butterfly’s body.
Next, twist the two remaining pipe cleaner ends together to finish securing the wings. Bend the extra pipe cleaner upward to create the butterfly’s antennae.
5. Shape the finished butterfly
Gently adjust the four loops until you are happy with the shape of the wings. The pipe cleaners are flexible, so the butterfly can easily be reshaped if it gets squished while children are working.
Younger children may need help pinching the ovals and twisting the wing pieces together. My toddlers were able to do most of the threading and shaping themselves, while my preschoolers had an easier time completing the pinching and wrapping steps.
What Children Learn from This Craft
Although the finished butterflies are beautiful, much of the value is in the process of making them.
This activity encourages children to practice:
- Fine motor control
- Hand-eye coordination
- Pincer grasp
- Bilateral coordination
- Color recognition
- Pattern creation
- Counting
- Concentration and persistence
Children use both hands together as they hold the pipe cleaner with one hand and add beads with the other. Pinching, bending, and twisting the pipe cleaners provide another type of fine motor challenge.
You can also add simple learning prompts as children work:
- How many beads have you added?
- Which color did you use the most?
- Can you make an AB or ABC color pattern?
- Are the butterfly’s wings the same or different?
- What happens during a butterfly’s life cycle?
Keep the conversation relaxed and follow the child’s interest. The craft does not need to become a formal lesson to provide valuable learning practice.
Tips for Making Beaded Butterflies with Young Children
For toddlers and younger preschoolers, focus primarily on threading the beads. An adult can finish twisting and connecting the wings when the child is done.
Older preschoolers may be able to create the loops and help connect the butterfly themselves. If the pipe cleaners are difficult to twist, encourage children to try first and then offer assistance as needed.
It also helps to:
- Place the beads in a shallow container or rectangular art tray.
- Offer a limited number of colors if a large selection feels overwhelming.
- Use contrasting bead and pipe cleaner colors.
- Let children decide when they have added enough beads.
- Avoid expecting every butterfly to look the same.
Our finished butterflies were all slightly different. Some had large wings, some had small wings, and some included color patterns. The children enjoyed making them so much that we soon had a whole collection of colorful butterflies decorating the playroom.
More Spring Crafts and Fine Motor Activities
Keep creating with these hands-on activities:
- Easy Pony Bead Crown Craft
- DIY Stick Wind Chime for Kids
- Bow Tie Pasta Butterfly Craft
- Colorful Spring Crafts and Activities
These pony bead butterflies are easy to personalize and fun to display. Hang them in a window, add them to a spring bulletin board, or let children use them in imaginative play.
Looking for more? Check out these fun crafts and activities by clicking the images below.
Looking for more crafts and activities? Check out our index for 100+ kids activities! Find activities by theme, materials, skills, age, and much more!
How gorgeous!!! My little girl would love to have a go at making these. They are much easier than they appear!
What a lovely and creative idea!
Thank you for stopping by the Thoughtful Spot Weekly Blog Hop this week. We hope to see you drop by our neck of the woods next week!
This is such a sweet idea. I’m pinning it to do with my little one.
These are so cute!! Thank you for sharing at Sharing Saturday!
These are absolutely beautiful! Pinned!
Thanks Katie!
What a fun spring craft! And a great way to practice fine motor skills too. Thanks so much for sharing in the Discover & Explore linky. I’m featuring this post today.
Thanks so much Shaunna!! 🙂
I make these for Mother’s Day presents. Just add a clothespin body with a magnet on the back.
That’s a great idea Sue!