We’re always looking for fun new light table activities. I’ve seen many kids activities that involve transparency film/paper and an overhead projector (OHP) but we don’t have an OHP so I’ve never put much thought into using transparencies. Well until recently that is! My daughter got a peel and stick play set with reusable stickers from grandma and while watching her play with it I began trying to figure out a way to incorporate something similar into a light play activity for the girls. Soon after this activity was born 🙂
Imaginative Play with Transparencies on the Light Table
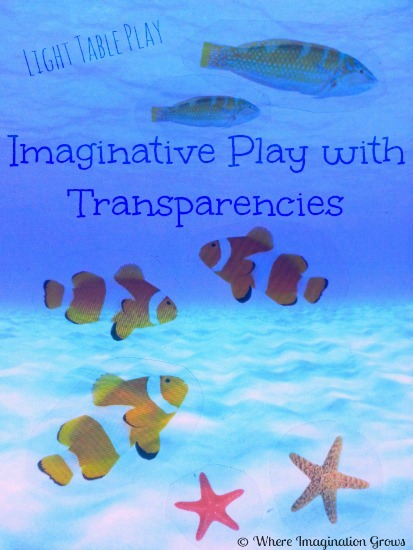
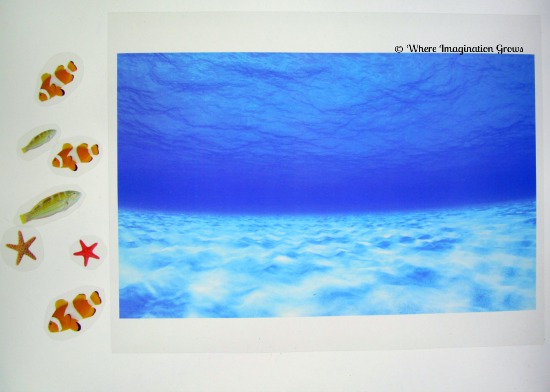
I started with an ocean small world/imaginative play set (the girls are very interested in fish) just to try it out and see if the girls would even find this light table activity interesting. They LOVED it!! Seriously! Who can blame them though, look how fun and pretty it looks.
 Affiliate links provided for your convenience; See below or my disclosure for more info.
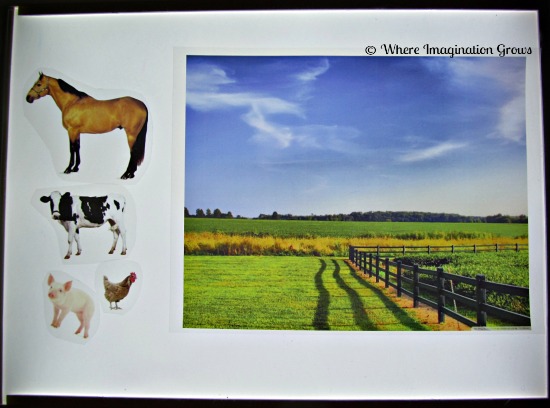
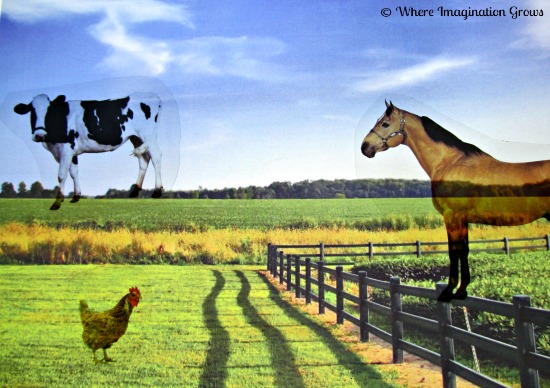
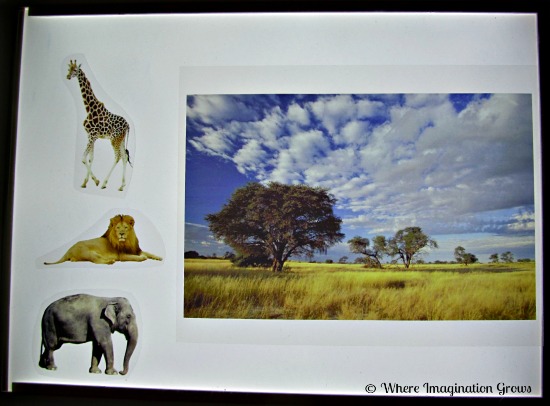
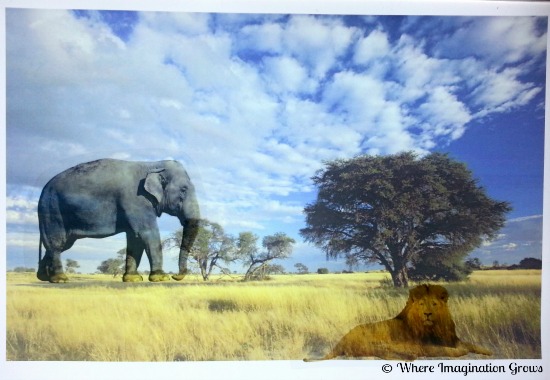
After the success of the ocean one, I added two more to our inventory; a farm field and African savanna (you can make anything to go with any theme or interest). I introduced the other two light play activities over the course of the next two weeks and each of them got tons of use! The girls have had all kinds of adventures with each animal activity set and the stories they came up with were very entertaining 🙂
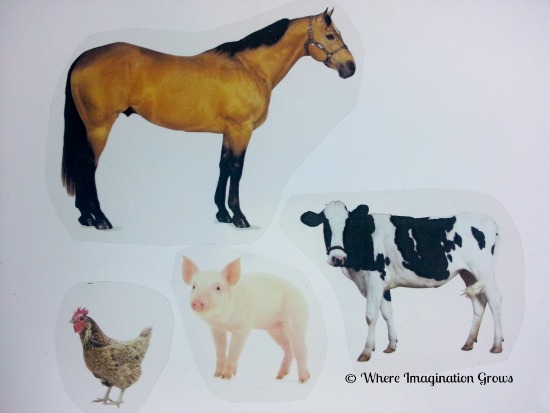
Our Farm Play Transparency Set:
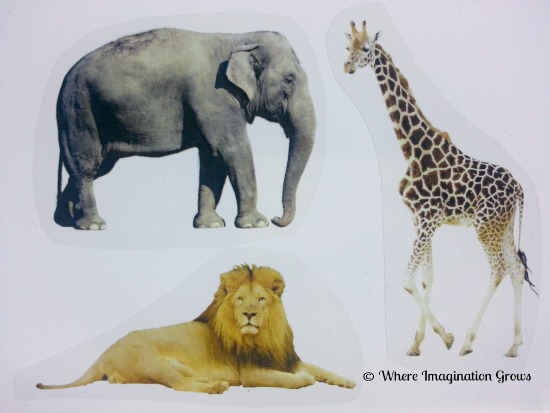
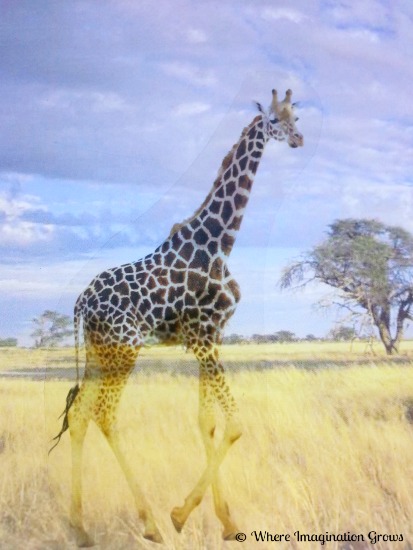
Our African imaginative play transparencies:
The colors are very bright on the light table and the girls have spent hours of imaginative play with these simple pieces! I was seriously not expecting the quality to be anywhere near as bright and clear but as you can tell from the photos (they look even better in person) they are very bright.
How to Make and Print Transparencies:
The transparencies above I had made at a FedEx Print & Ship Center (just under $8 for 5), but I’m sure any print center or office store could print them. All I did was do a Google search for photo scenes I wanted to use (desktop backgrounds are a great size and offer lots of free landscape photos), save them to a PDF and then take them into the print center and they did the rest. I found a few photos of the animals I wanted, pasted the jpgs into one document, and saved as a PDF. The Fedex Print Center can make transparency from printed photos as well but for the best quality take a digital file to your print shop. The possibilities of what you can create are endless!
Because I don’t have an OHP or a copy machine it was cheaper for me to have a printing center do than rather than spend $20+ on transparency film plus using my ink, however, if you have an OHP and plan to make a lot of things you can purchase transparency film for both regular printers and for copiers.
Important note on making your own transparencies: Be careful not to use inkjet transparency film/paper in a copy machine as it will melt and damage the inside of the machine. Also, be aware that the ink from regular printers will not dry properly on transparency paper that is made for copiers, you need inkjet-specific paper/film.
What a fabulous idea! We have an OHP tucked away in the garage, waiting for a new project to give it a reason to come out and play.
I must get an OHP!
Love it! Brilliant and so much fun!
Thanks so much Devany!
Wow!! Genius! I love this idea, Lisette!
Thanks Katie!
Umm…I’m a little obsessed and over the moon with this! I LOVE that idea!! Pinning and trying for sure!!!!
Thanks Laura! It has been such a hit with the kids! Even I want to play with it when I set it up 🙂
Just found this! Wonderful idea – It is now next on my list. Just wondering… how big did you make these? Can’t wait to try it! Thanks for the info!
Hi Pam! I used one whole 8.5 X 11 inch transparency sheet for the backdrop scenes and the animals I just sized to about 1/4 of the sheet. 🙂