Hammering nails into pumpkins creates unique jack-o-lanterns and is so much fun for kids!
We love fall and fall means doing lots of pumpkin themed activities. We usually do lots of pumpkin learning activities and crafts, like pumpkin washing sensory play and pumpkin patch small world activities, every year in my home daycare. Each of these activities are so much fun and provider hours of fun! But over the years this particular activity, hammering nails into pumpkins, has always been a favorite of the toddlers and preschoolers in my care.
Probably because they get to get messy in the pumpkin guts and they get to use real hammers!
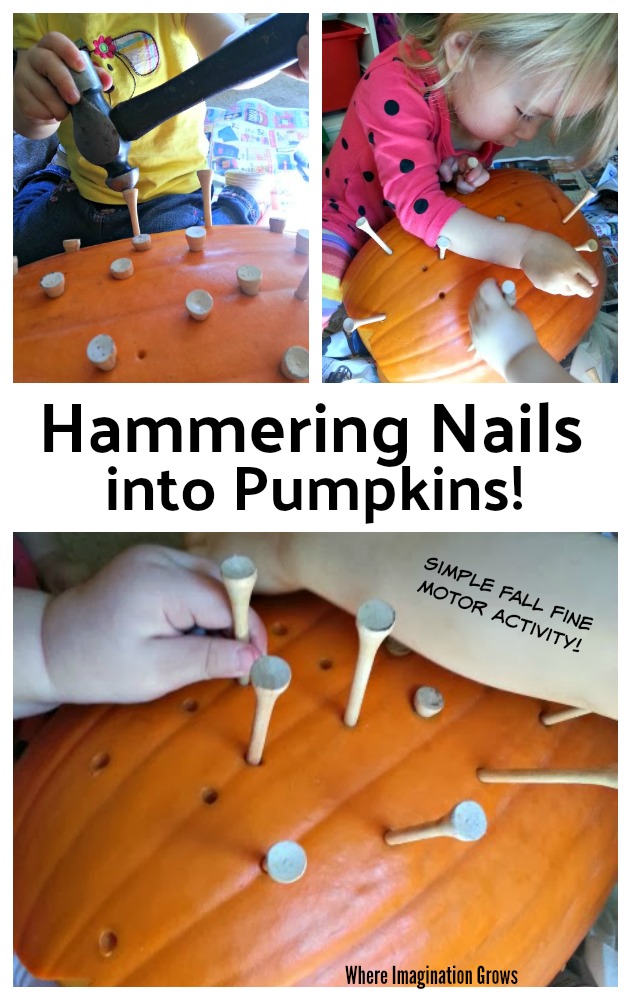
Hammering Nails into Pumpkins
This activity is super simple to set up: you just need a pumpkin, some golf tees or large nails, and a hammer or two. Remember, if you are using real tools talk about safety with the kids before you give them the tools. I use real hammers paired with golf tees with my toddlers. When I do this with my older preschoolers and school-aged kids I do let them use real nails and hammers. You know the abilities of each of your children best.
To begin this activity I prepared the pumpkin by pre-cutting the top open. We then worked together to pull the top open and the kids worked together to clean out the pumpkin.
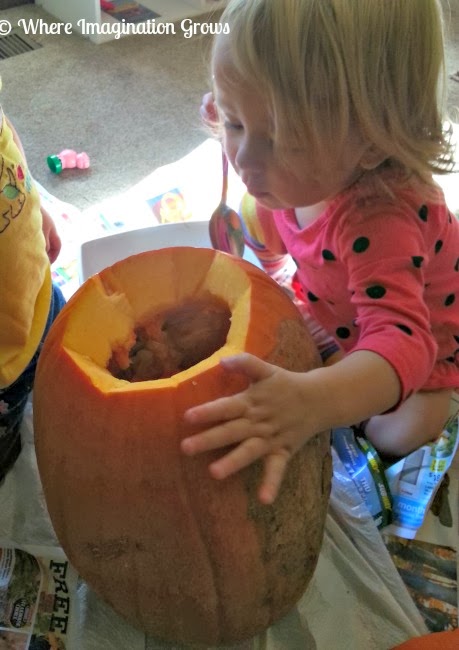
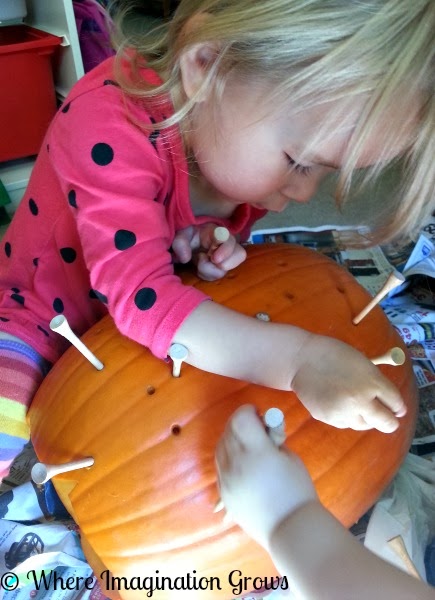
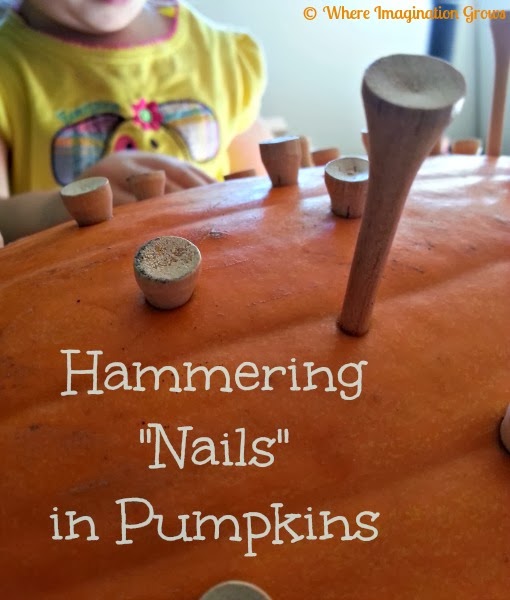
After we cleaned out most of the goop it was time to hammer! I used golf tees with this group because they are younger (two almost 2 year olds and one barely 2 year old toddler) and the golf tees have wider heads that made it easier for them to hit with the hammer.
We have since done this activity several more times over the years. These toddlers are now nearly kindergarten aged and as the children’s hand-eye coordination gets better we have swapped to real nails.
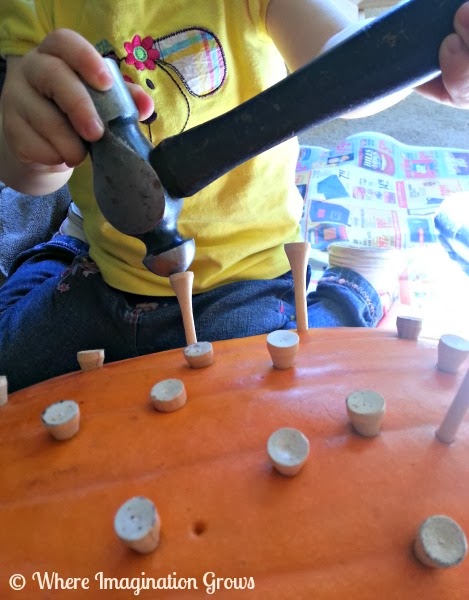
I only got a few pictures of the nailing process, as I wanted to keep a close eye, but the kids did great. We had no accidents or injuries! They were more than capable of figuring out the best way to use the hammer and being careful not to get their fingers (or any fingers of their friends) smashed.
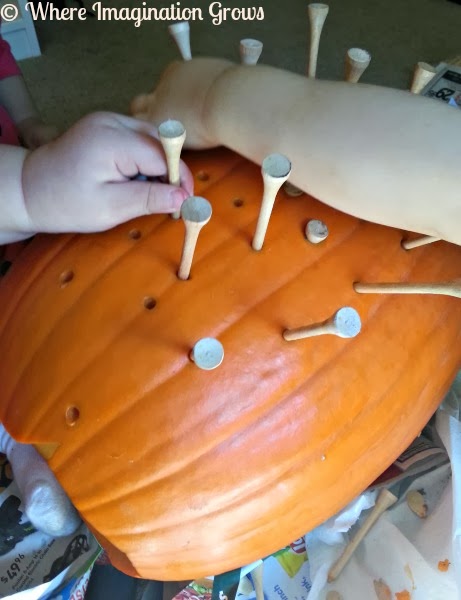
After they hammered all the golf tees into the pumpkins they decided that they wanted to take them all out and see the holes. They then spent the next 35 minutes placing all the golf tees into the holes and pulling them all out again.
We found that there were a few golf tees that were very hard to pull out. However, they just needed to sit for a few minutes because the pumpkin would soften around it and then they could easily pull them out!
The only disappointment from this activity was that we didn’t get to see it all lit up! Poor Mr. Pumpkin got knocked over by our dog bursting out the door to chase a squirrel. Unfortunately we weren’t able put him back together again. But on the bright side we got to explore the pumpkin guts and pieces more closely.
Looking for more crafts and activities? Check out our index for 100+ plus kids activities! Find activities by theme, materials, skills, age and much more!
What an unusual idea – shame that Mr Pumpkin had a great fall though as I think it would have looked fabulous lit up! Thank you for sharing on We Love Weekends!
I have a feeling this activity was a huge hit! 🙂
Hi just popping by to say you were one of my featured posts on We Love Weekends – fantastic idea – something we will be doing next year too! http://peaklepie.com/autumn-break-love-weekends-1st-november-2013/
Thanks so much! 🙂