Fun ornaments kids can make are perfect for adding some personalized flare to your tree and they make great keepsakes!
This Christmas season we are making salt dough and melted bead ornaments as gifts. These ornaments were inspired by these amazing Handprint Suncatchers from Homegrown Friends. We had something similar planned but instead made these awesome ornaments after seeing the Handprint Suncatchers. Check them out if you want something a little more personalized this holiday season!
This post may contain affiliate links for your convenience.
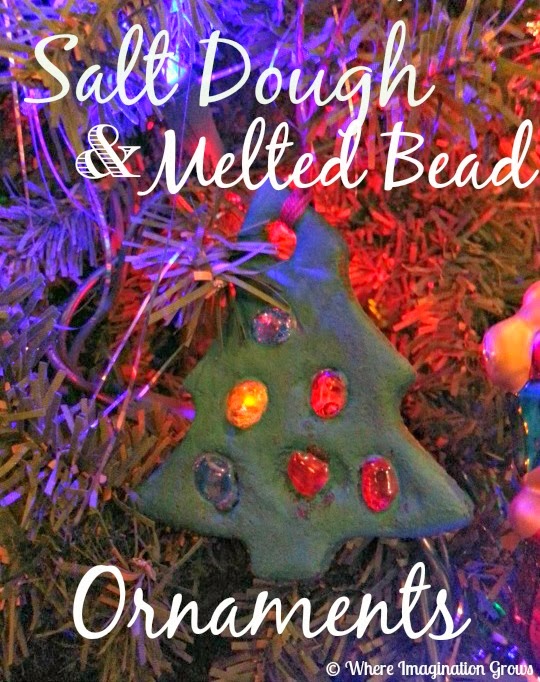
These are easy to make and combines both art and cooking! Both toddlers and preschoolers can make these special ornaments. Plus they look so amazing with the lights of a Christmas tree behind them as they hang on your tree.
Materials:
- Salt Dough
- Pony Beads or Tri-Beads
- Straw
- Paint
- Oven
We used Tri-Beads for our DIY salt dough ornaments because they were smaller and all I had on hand but you could easily use regular pony beads. Whatever type of beads you use I recommend using colored transparent style ones. Using transparent ones allows the colors from your Christmas lights to shine through better.
The first step in these ornaments kids can make is to whip up a batch of salt dough!
Salt Dough & Melted Bead Ornaments Kids Can Make
Salt Dough Recipe:
- 1 cup Flour
- 1/2 cup Salt
- 1/2 cup water
Mix together all dry ingredients and then slowly add the water until it forms the texture of dough. Knead until smooth, then roll out the dough.
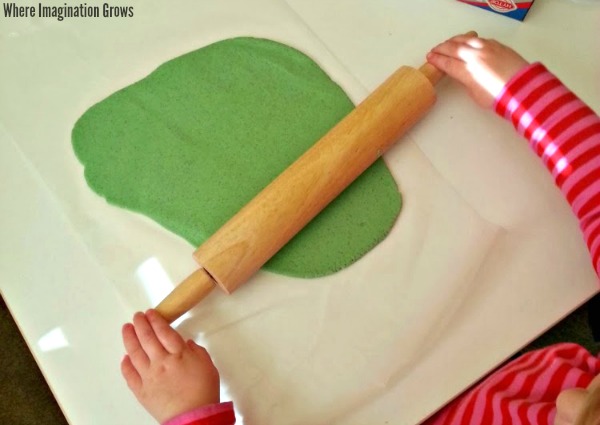
We made two batches so that I had two groups going at the same time. One of the batches the kids wanted to be green because they were making trees after all, but it doesn’t matter what color the salt dough is. The color won’t show when cooked anyway.
Once your salt dough is rolled out use cookie cutters to cut out your shapes, w made trees and stars. Put the cut out shapes onto a cookie sheet.
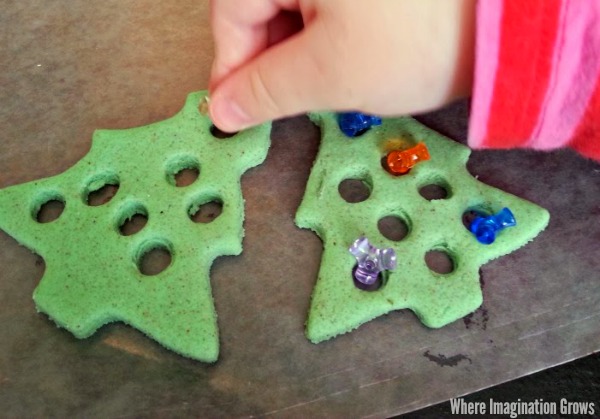
Use a straw to poke holes in the trees and in the other shapes, these will be where your beads go. Add as many as you want, You just don’t want the salt dough too thin because it can crack if there are too many holes. The beads then go in each of the holes. Don’t forget to leave one at the top for a ribbon to hang it!
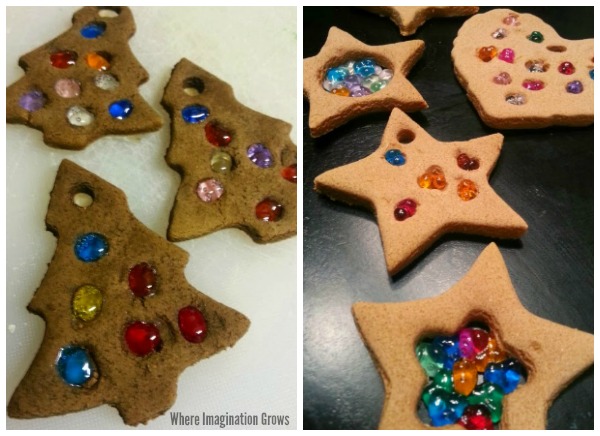
Cook them in the oven for 1.5 hours on 200 degrees to cook the salt dough. After 1.5 hours I slowly turned the oven up to 375 (keeping a close eye on them) so that the beads would melt. If you don’t cook it slowly the first hour and a half your salt dough may rise and get puffy or crack.
The melted beads can omit a melting plastic smell so make sure you have an exhaust fan on or window open.
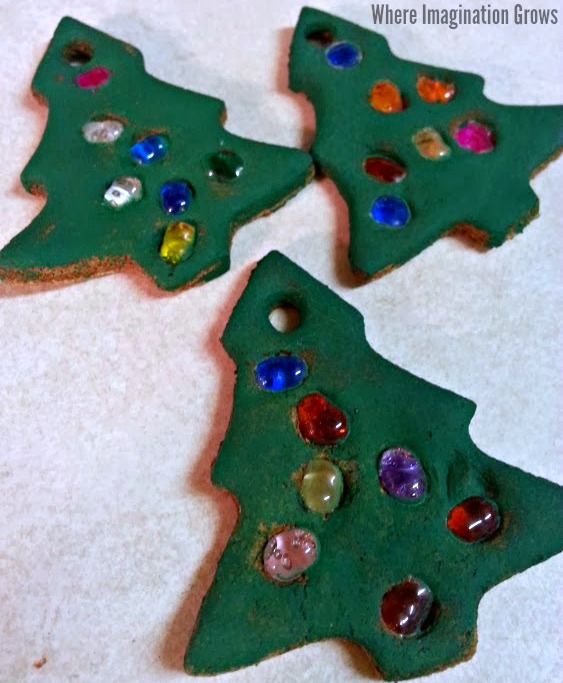
After they cool paint the salt dough green for the trees. It doesn’t matter if the kids paint on the beads, just take a small towel or wet wipe and the paint will wipe right off. If your salt dough isn’t burned (our green salt dough turned a very unattractive brown) you can also just clear coat them with mod podge.
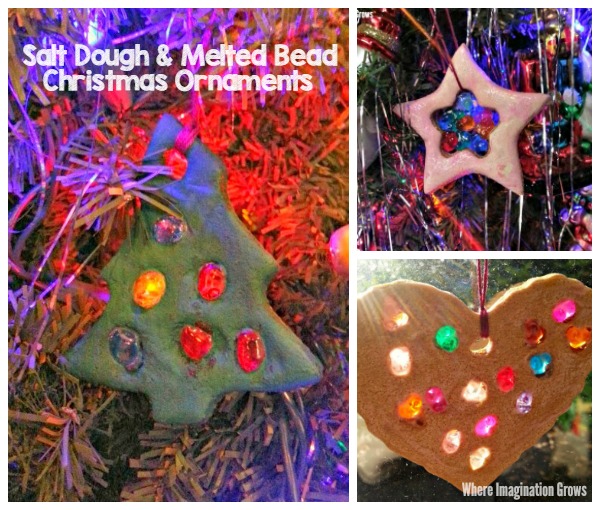
When the paint is dry put them on your tree! They look brilliant! I love the way the color pop because of the Christmas lights behind them!
Make these simple ornaments today!
Looking for more crafts and activities? Check out our index for 100+ plus kids activities! Find activities by theme, materials, skills, age and much more!


I love how you used a straw to cut out an area for the bead – these are beautiful!
How neat! We’ve made salt dough ornaments before but I’ve never seen them with the melted beads…so cool!
Can you tell me more about the beads? Can I find the at Michael’s Craft Store?
Thanks.
The beads are just regular pony beads from my crafts stash. I got them at Wal-Mart in the craft section for about $2.50, but I’m sure that Michael’s would have something similar.
This has such a gorgeous result! I would have never thought to put the two together! What a clever, pretty and affordable craft! 🙂
These are beautiful! I think I’m going to give them a go! Will the beads fusing to the tray be a problem? I don’t want any disappointed children!
I put mine on wax paper and had no problems with the beads sticking to the paper, they came right up but fused to the ornaments securely.
i really like just the hand print, would u still bake then the same. (no beads) has anyone tried sprinkling glitter on top?
The handprint we do each year. I do not bake it the same way as the melted beads. For regular salt dough keepsakes & ornaments I just cook them on 200 for about 2-3 hours. Any hotter and they may puff up rather than just drying out. I’ve never sprinkled glitter on them during the cooking process but we’ve added it after with mod podge.
Are you aware of any fumes is coming off of the beads When you cook them? I want to do this is a craft at my daycare where I am the lead teacher, But the director was concerned about any fumes that would be coming off of the beads when they melt….. I read that you experienced AE heavy smell when they were cooking…
I forgot to hit notify me of any posts! Can you please put your answer here so I know you answered me!?
The beads I had did omit a melting plastic smell, not overpowering with the first batch but it built with the second batch as was a definitely noticeable. I cooked them in two batches (6 first time & 7 the second time), one right after another and the second batch was the one I had to pull out so I’m thinking if I had done them all at once it would have been less of an issue. Multiple people have msg’d me that theirs did not smell so its possible it was just my beads (basic pony beads from Walmart) so that may be a factor. I don’t think it would have been a problem if I could open a window or two but it was a very cold day and my playroom is off the kitchen so I didn’t want to make the kids freeze 🙂 Hope that helps!
What a great idea to change up salt dough ornaments. Thank you for sharing at Sharing Saturday!!